
Mending series
PART 1
I’ve done a few mends over the past few months and wanted to round them up here on the blog. I have no doubt this will be the first of many similar blog posts, so I’m going to save them up and round up 2-3 projects at a time. I don’t want to create repetitive content, the sort that turns readers off and feels lazy, but equally I think mending is such a valuable skill and often forgotten in the sewist’s toolkit. Why tackle the 3 mending projects languishing in the corner, when you can make a start on a new, exciting project? I’ve definitely been guilty of that mentality, but for the most part, a mending project is often faster than you think and can bring much-loved garments back into regular rotation.
PYJAMA BOTTOMS
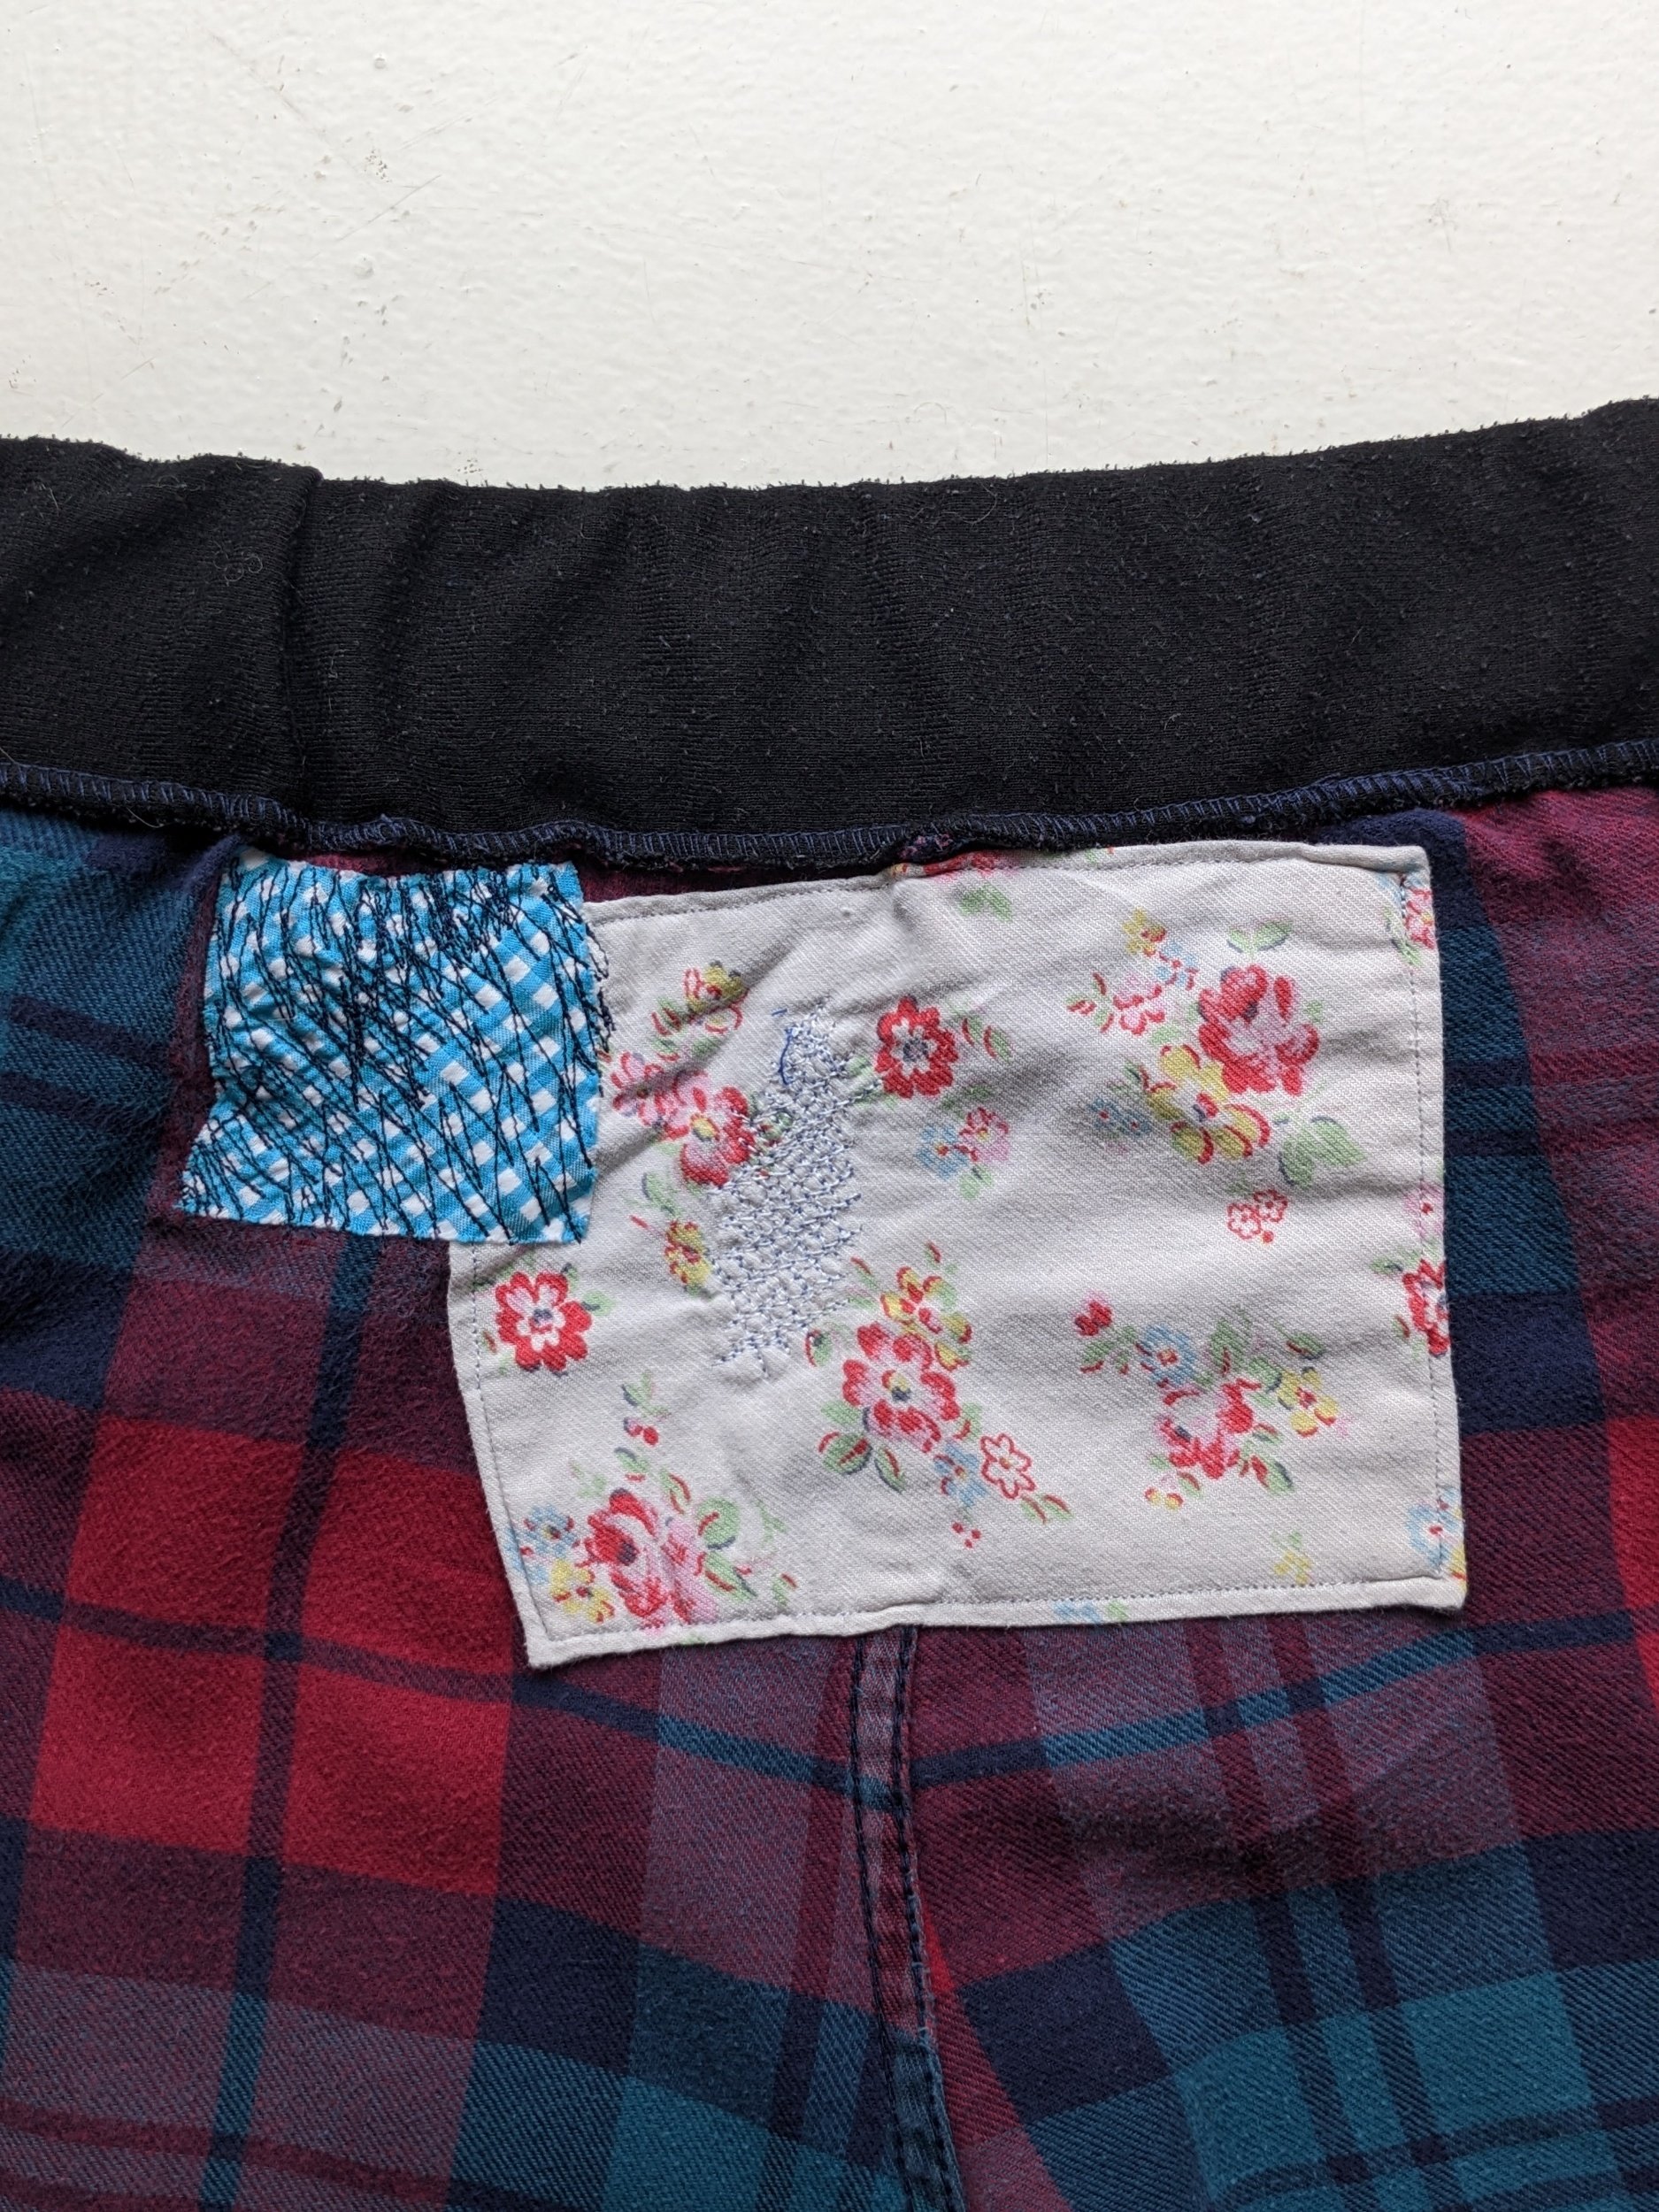
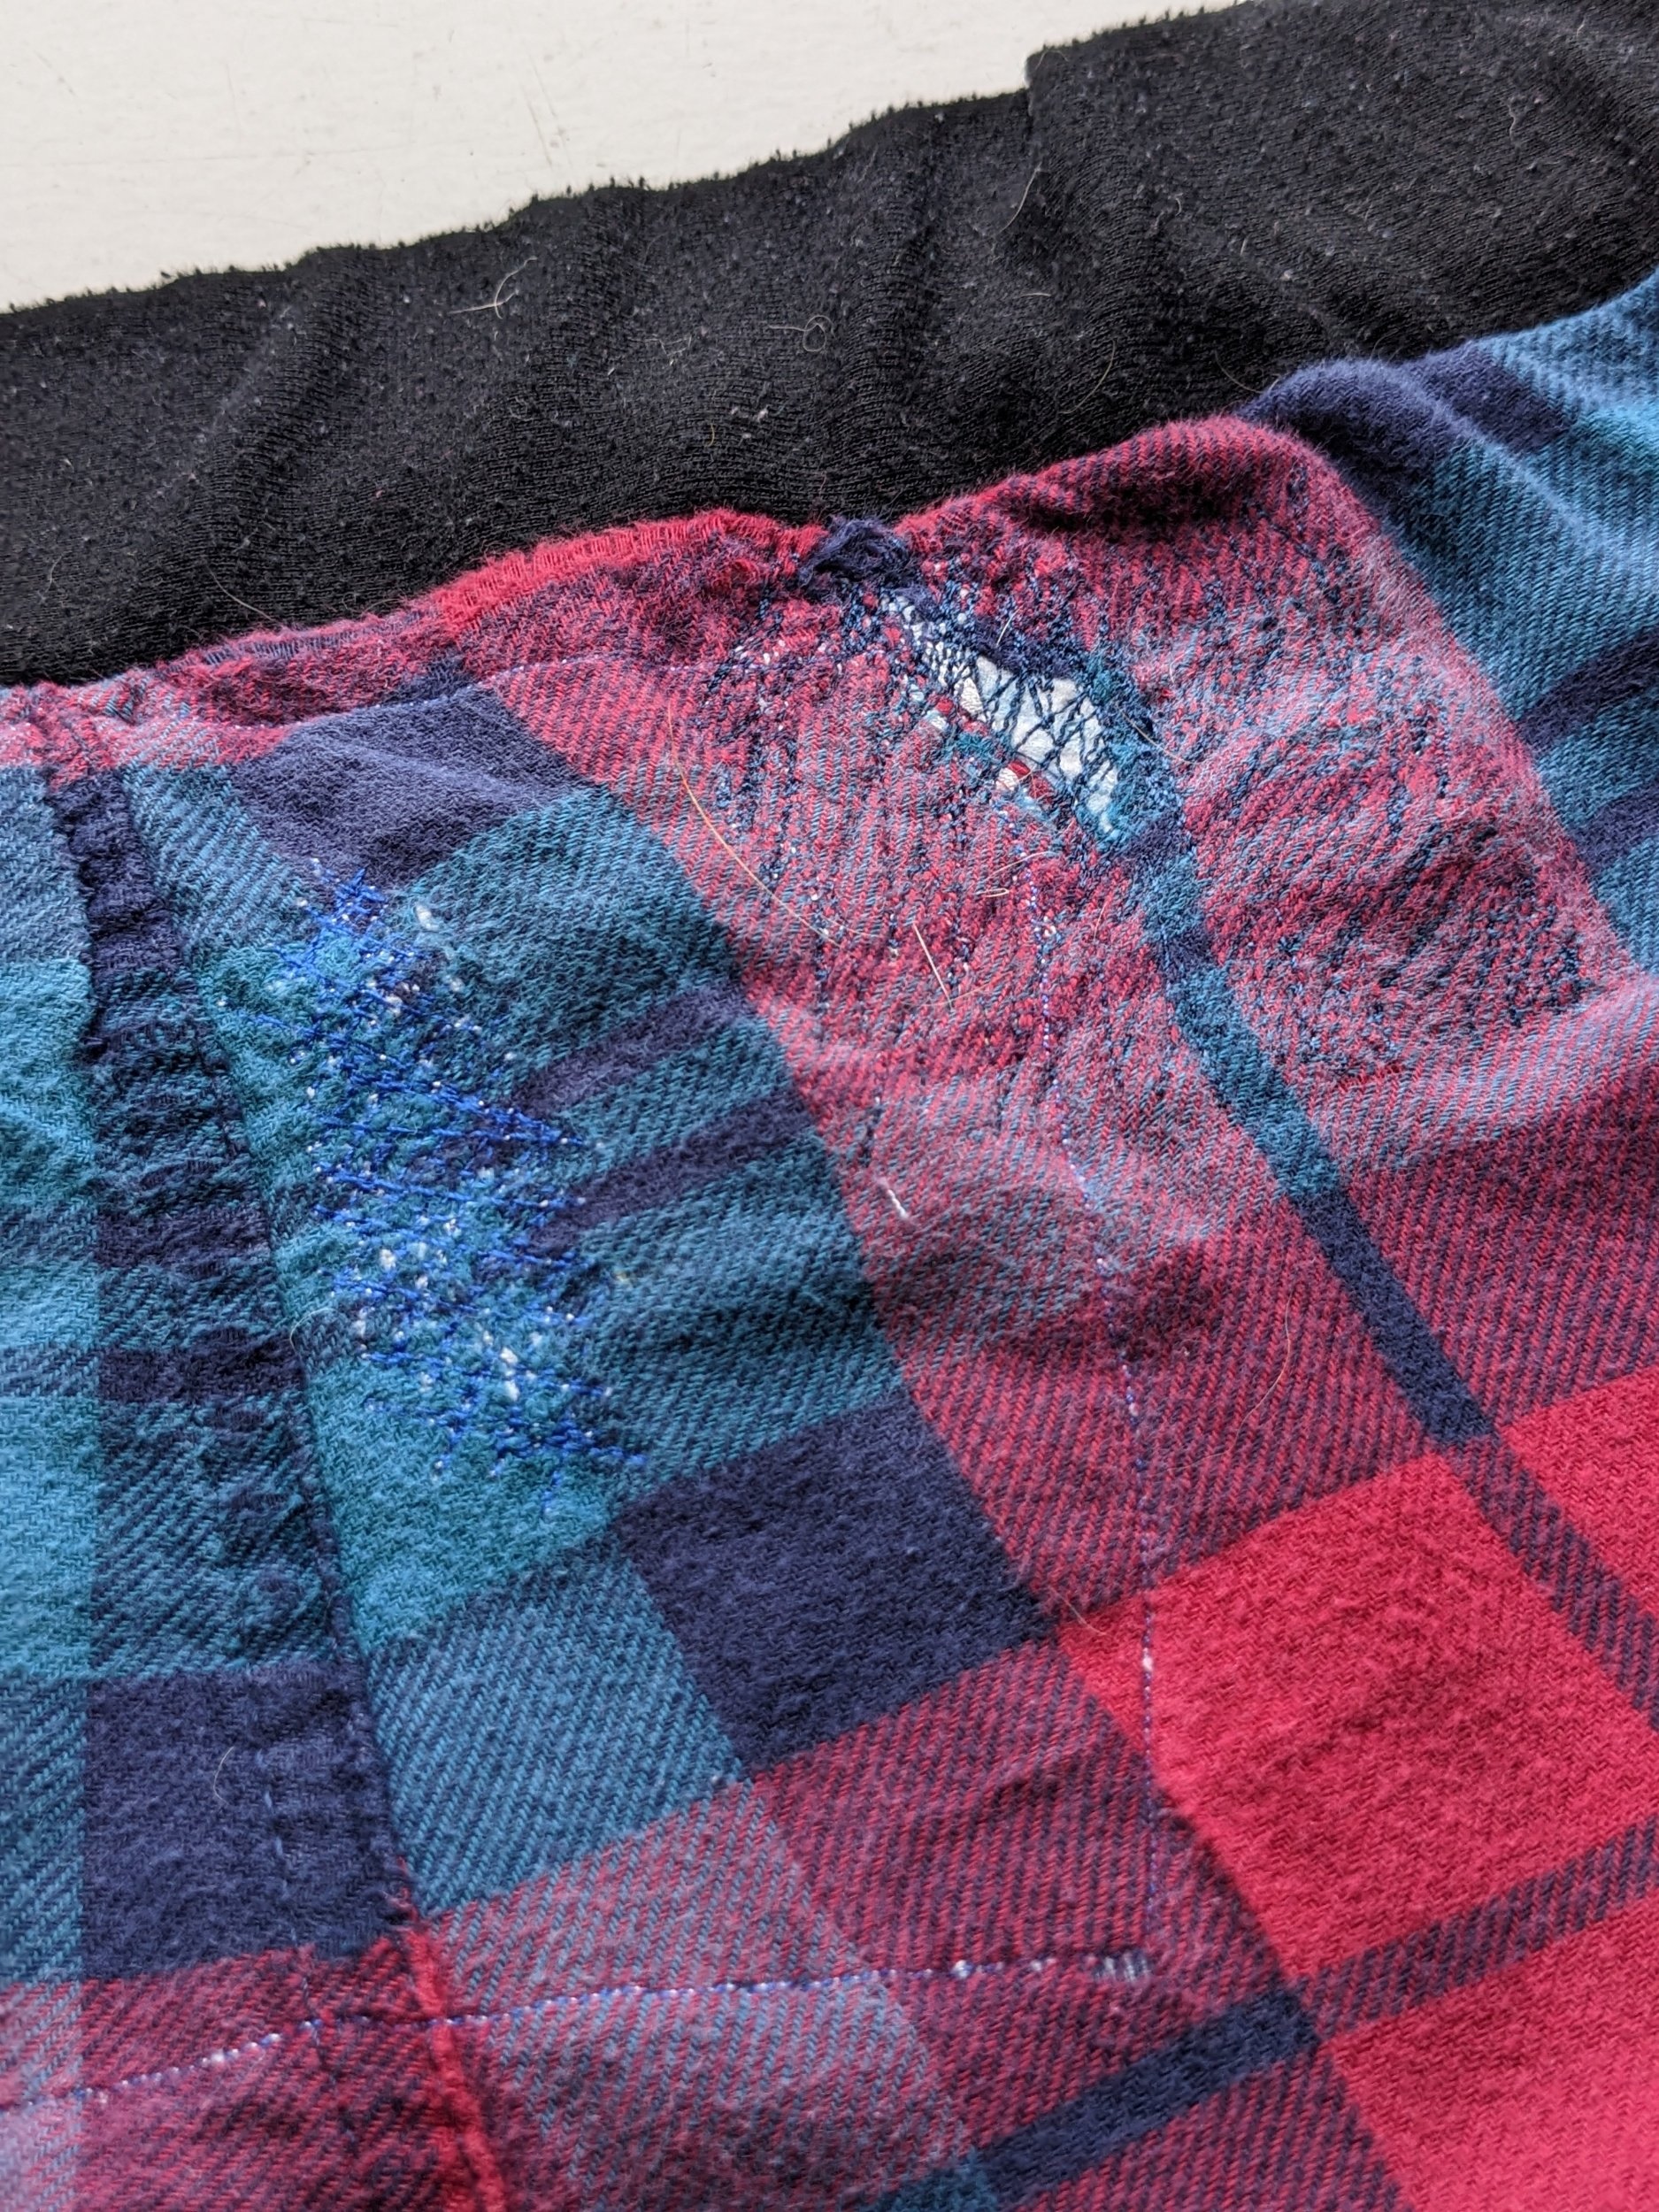
This beloved pair of M&S pyjama bottoms belongs to Andrew and has been in rotation for many years. Their age, plus the ravages of the tumble drier, have left the fabric wearing thin around the back waistband. The waistband itself has been replaced twice (click the link to see my IGTV describing this process in detail), both times with black jersey fabric and fresh elastic. This time I added a small blue check patch over a new hole, beside the Cath Kidson patch from several months ago. There was also a hole in the front, repaired with the blue check fabric donated from an old 100% cotton check shirt.
My method is copied from others on Instagram (Roberta Cummings is a great person to follow for mending tips) and works pretty reliably. I cut a piece of scrap fabric roughly to size, of similar weight to the original material and then, using a straight stitch, zigzag forwards and backwards over the fabric. I make sure to go from one area of ‘healthy’ fabric, across the hole, to the healthy fabric on the other side. Just like stitching a wound! From outside, the stitching can be barely visible, if you’re clever about picking matching thread. In this case, there's interfacing visible from the other side but as they're pyjamas, it doesn't matter really.
I like that inside the garment, you get a network of different sizes and colours of patches over time, like the rings on a tree. They tell a story of the garment and its journey with you.
TEN POINTS LEATHER BOOTS
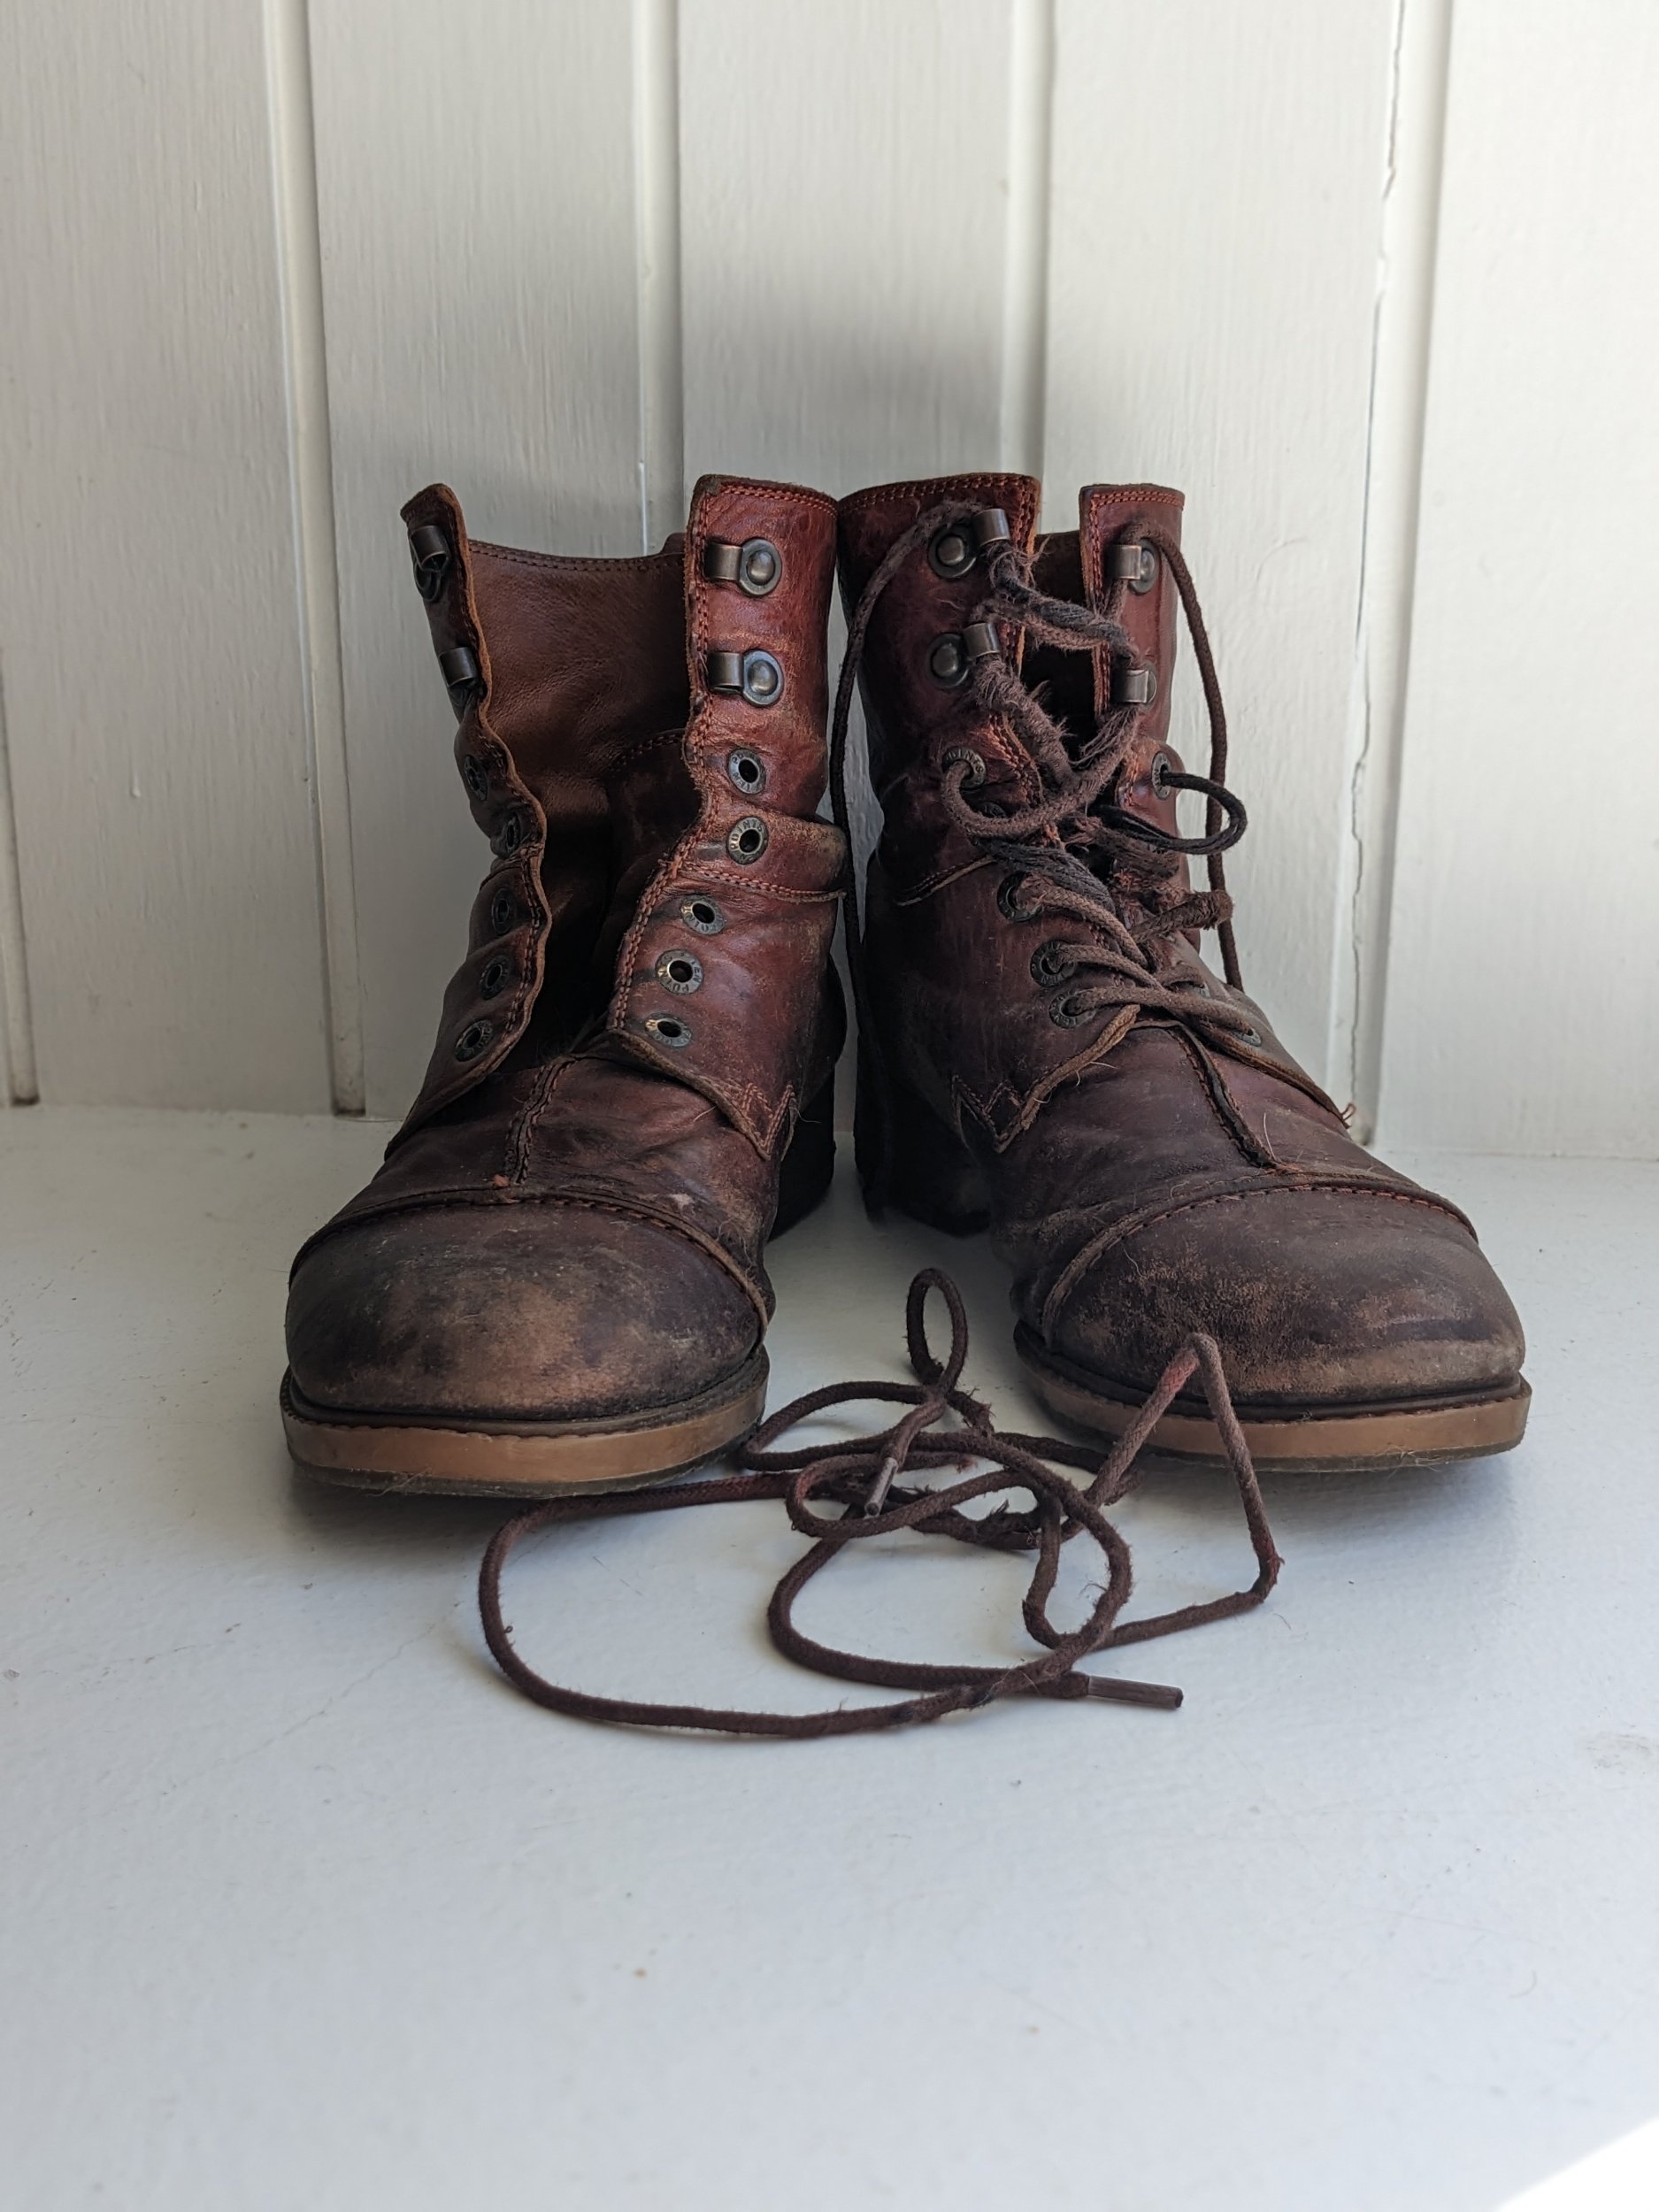
My second mend is barely a mend, but I wanted to include it because it’s so accessible. No sewing machine and no skills needed. This pair of Ten Points boots were bought in 2017, Gmail reliably informs me. I specifically chose the brand because they use sustainable practices in their manufacturing, both in sourcing materials and in caring for their workforce. I also wanted a design that would last years, so purposefully avoided zips, which can be difficult to replace if they break.
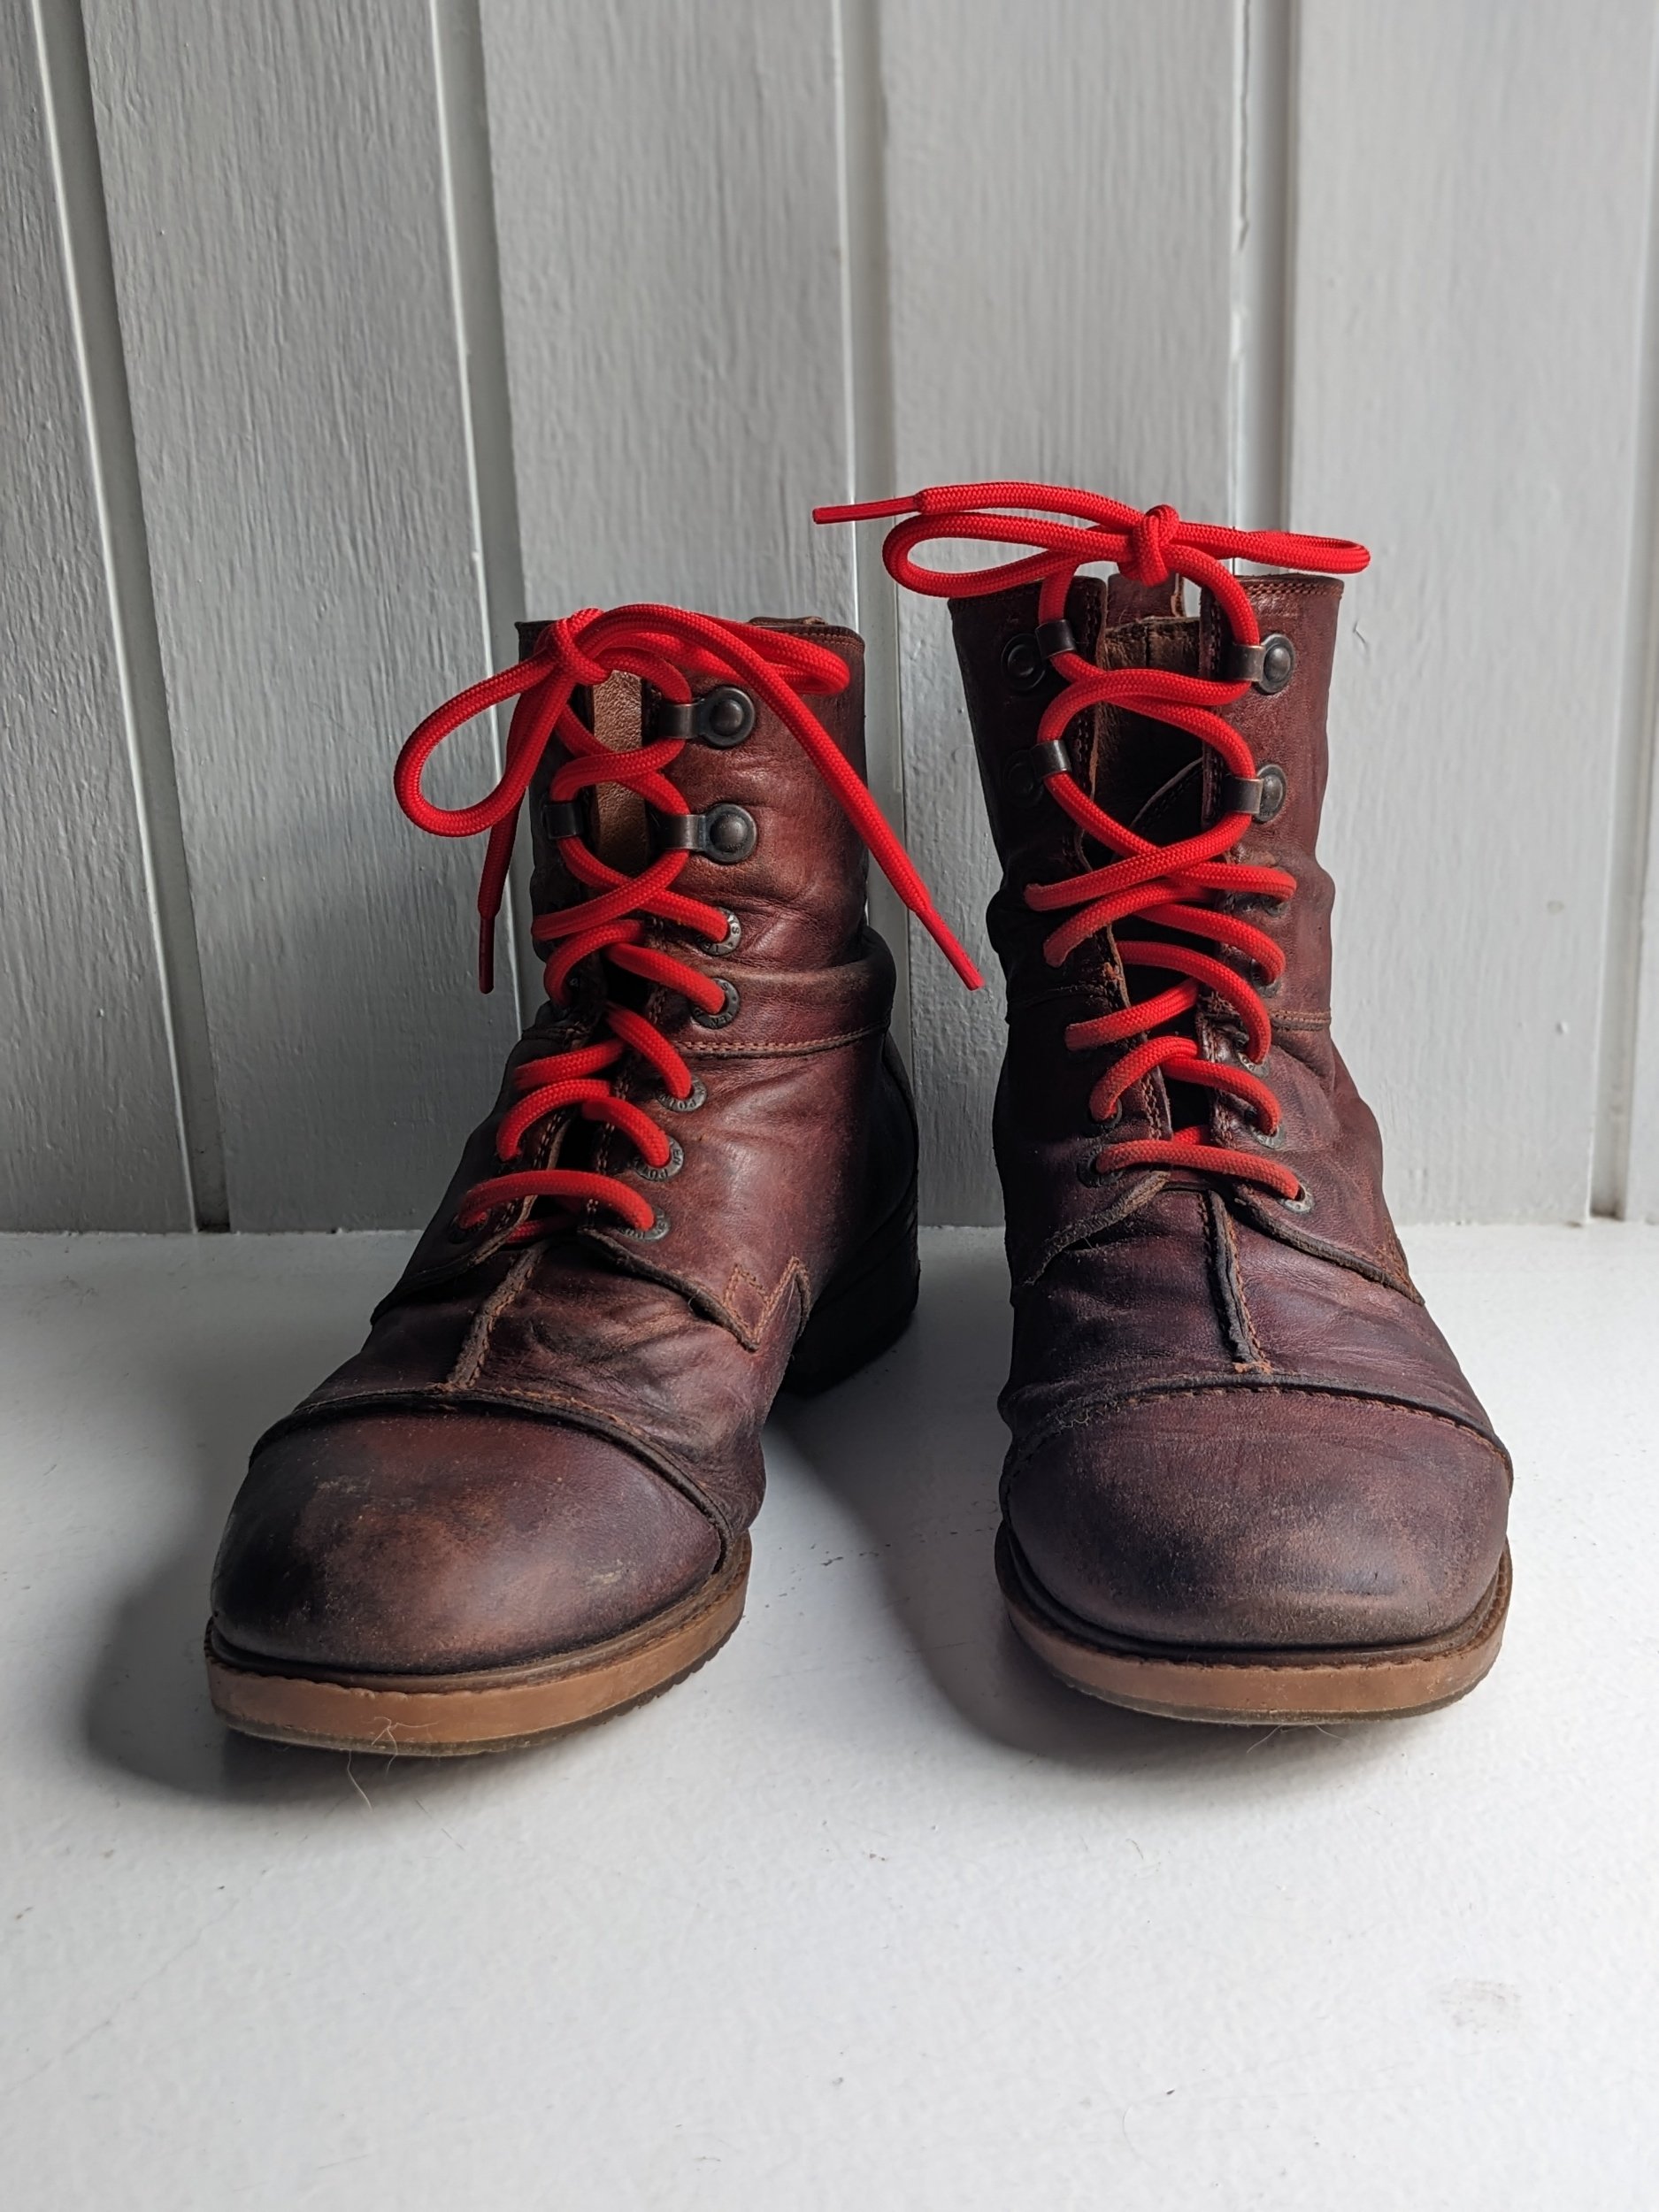
Every year in the autumn, I buy a new pair of wool insoles and every second year I get the boots resoled. This year the laces broke and I treated them to a fresh pair of bootlaces. I fancied a change of style and went for red this time. No doubt the Scottish weather will dull that vibrant scarlet in no time, to a more muted tone more in keeping with my wardrobe. One of my followers on Instagram described these boots as “well-used and well-kept” and I love that description.
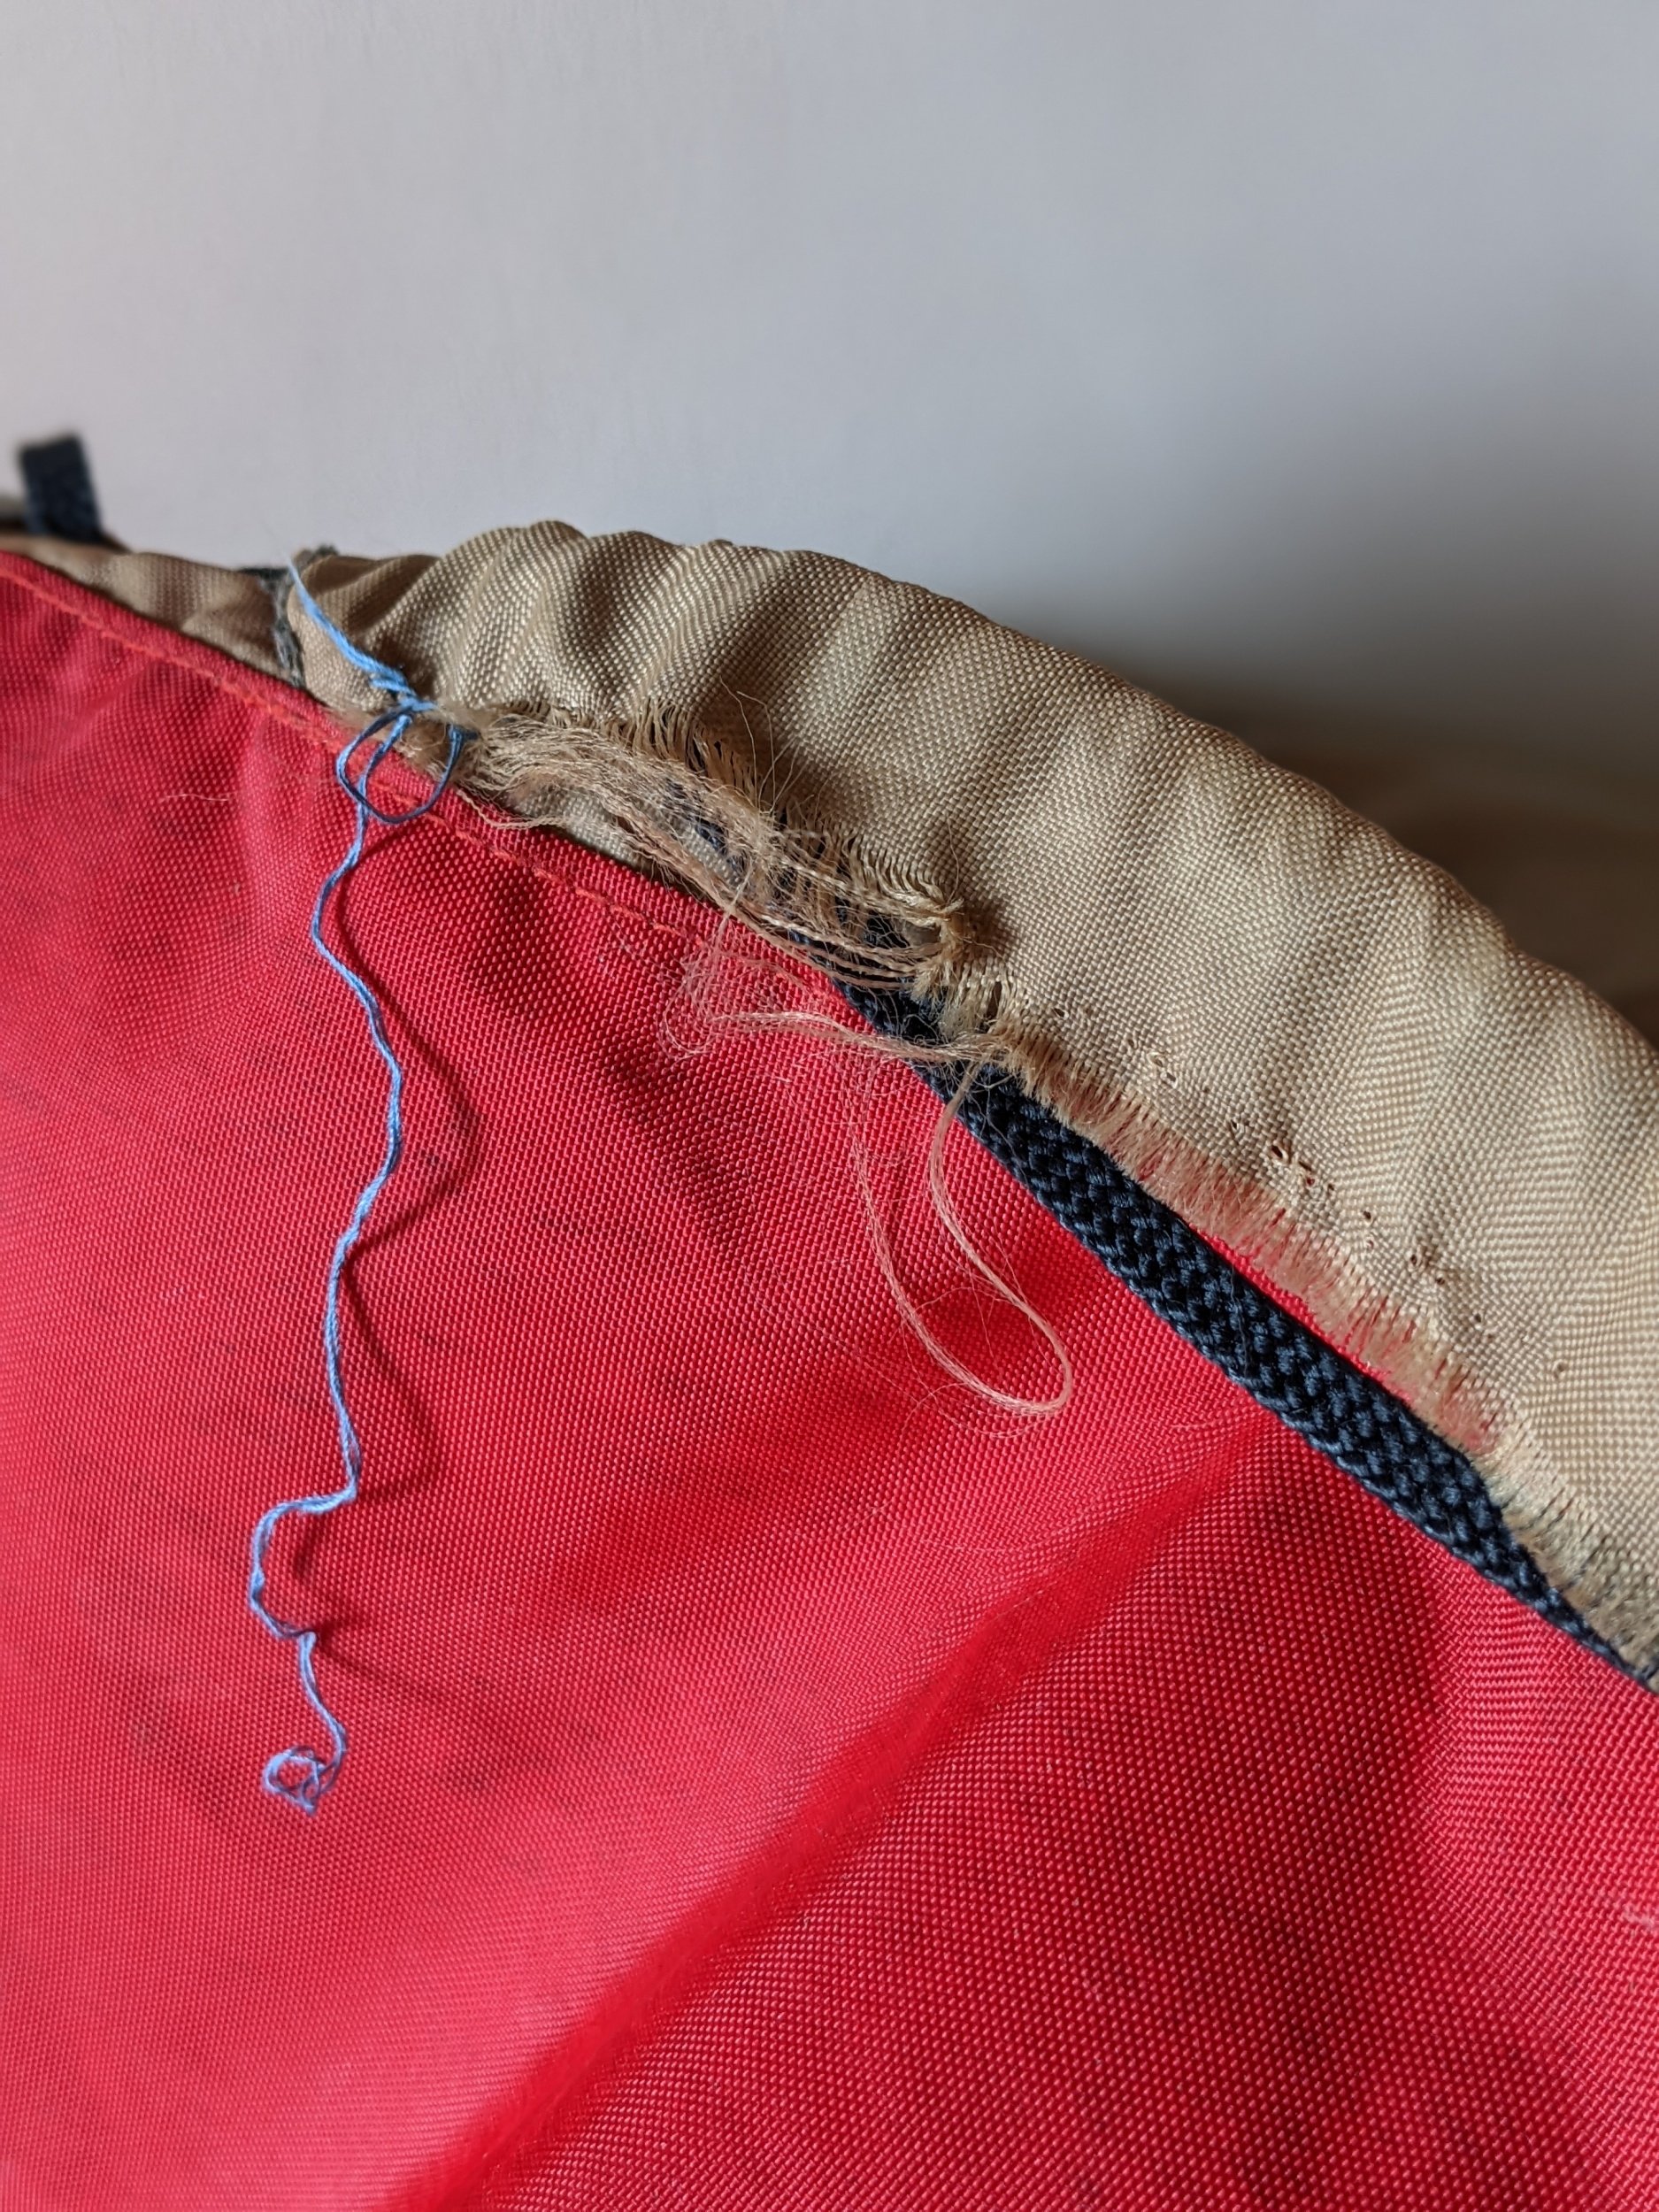
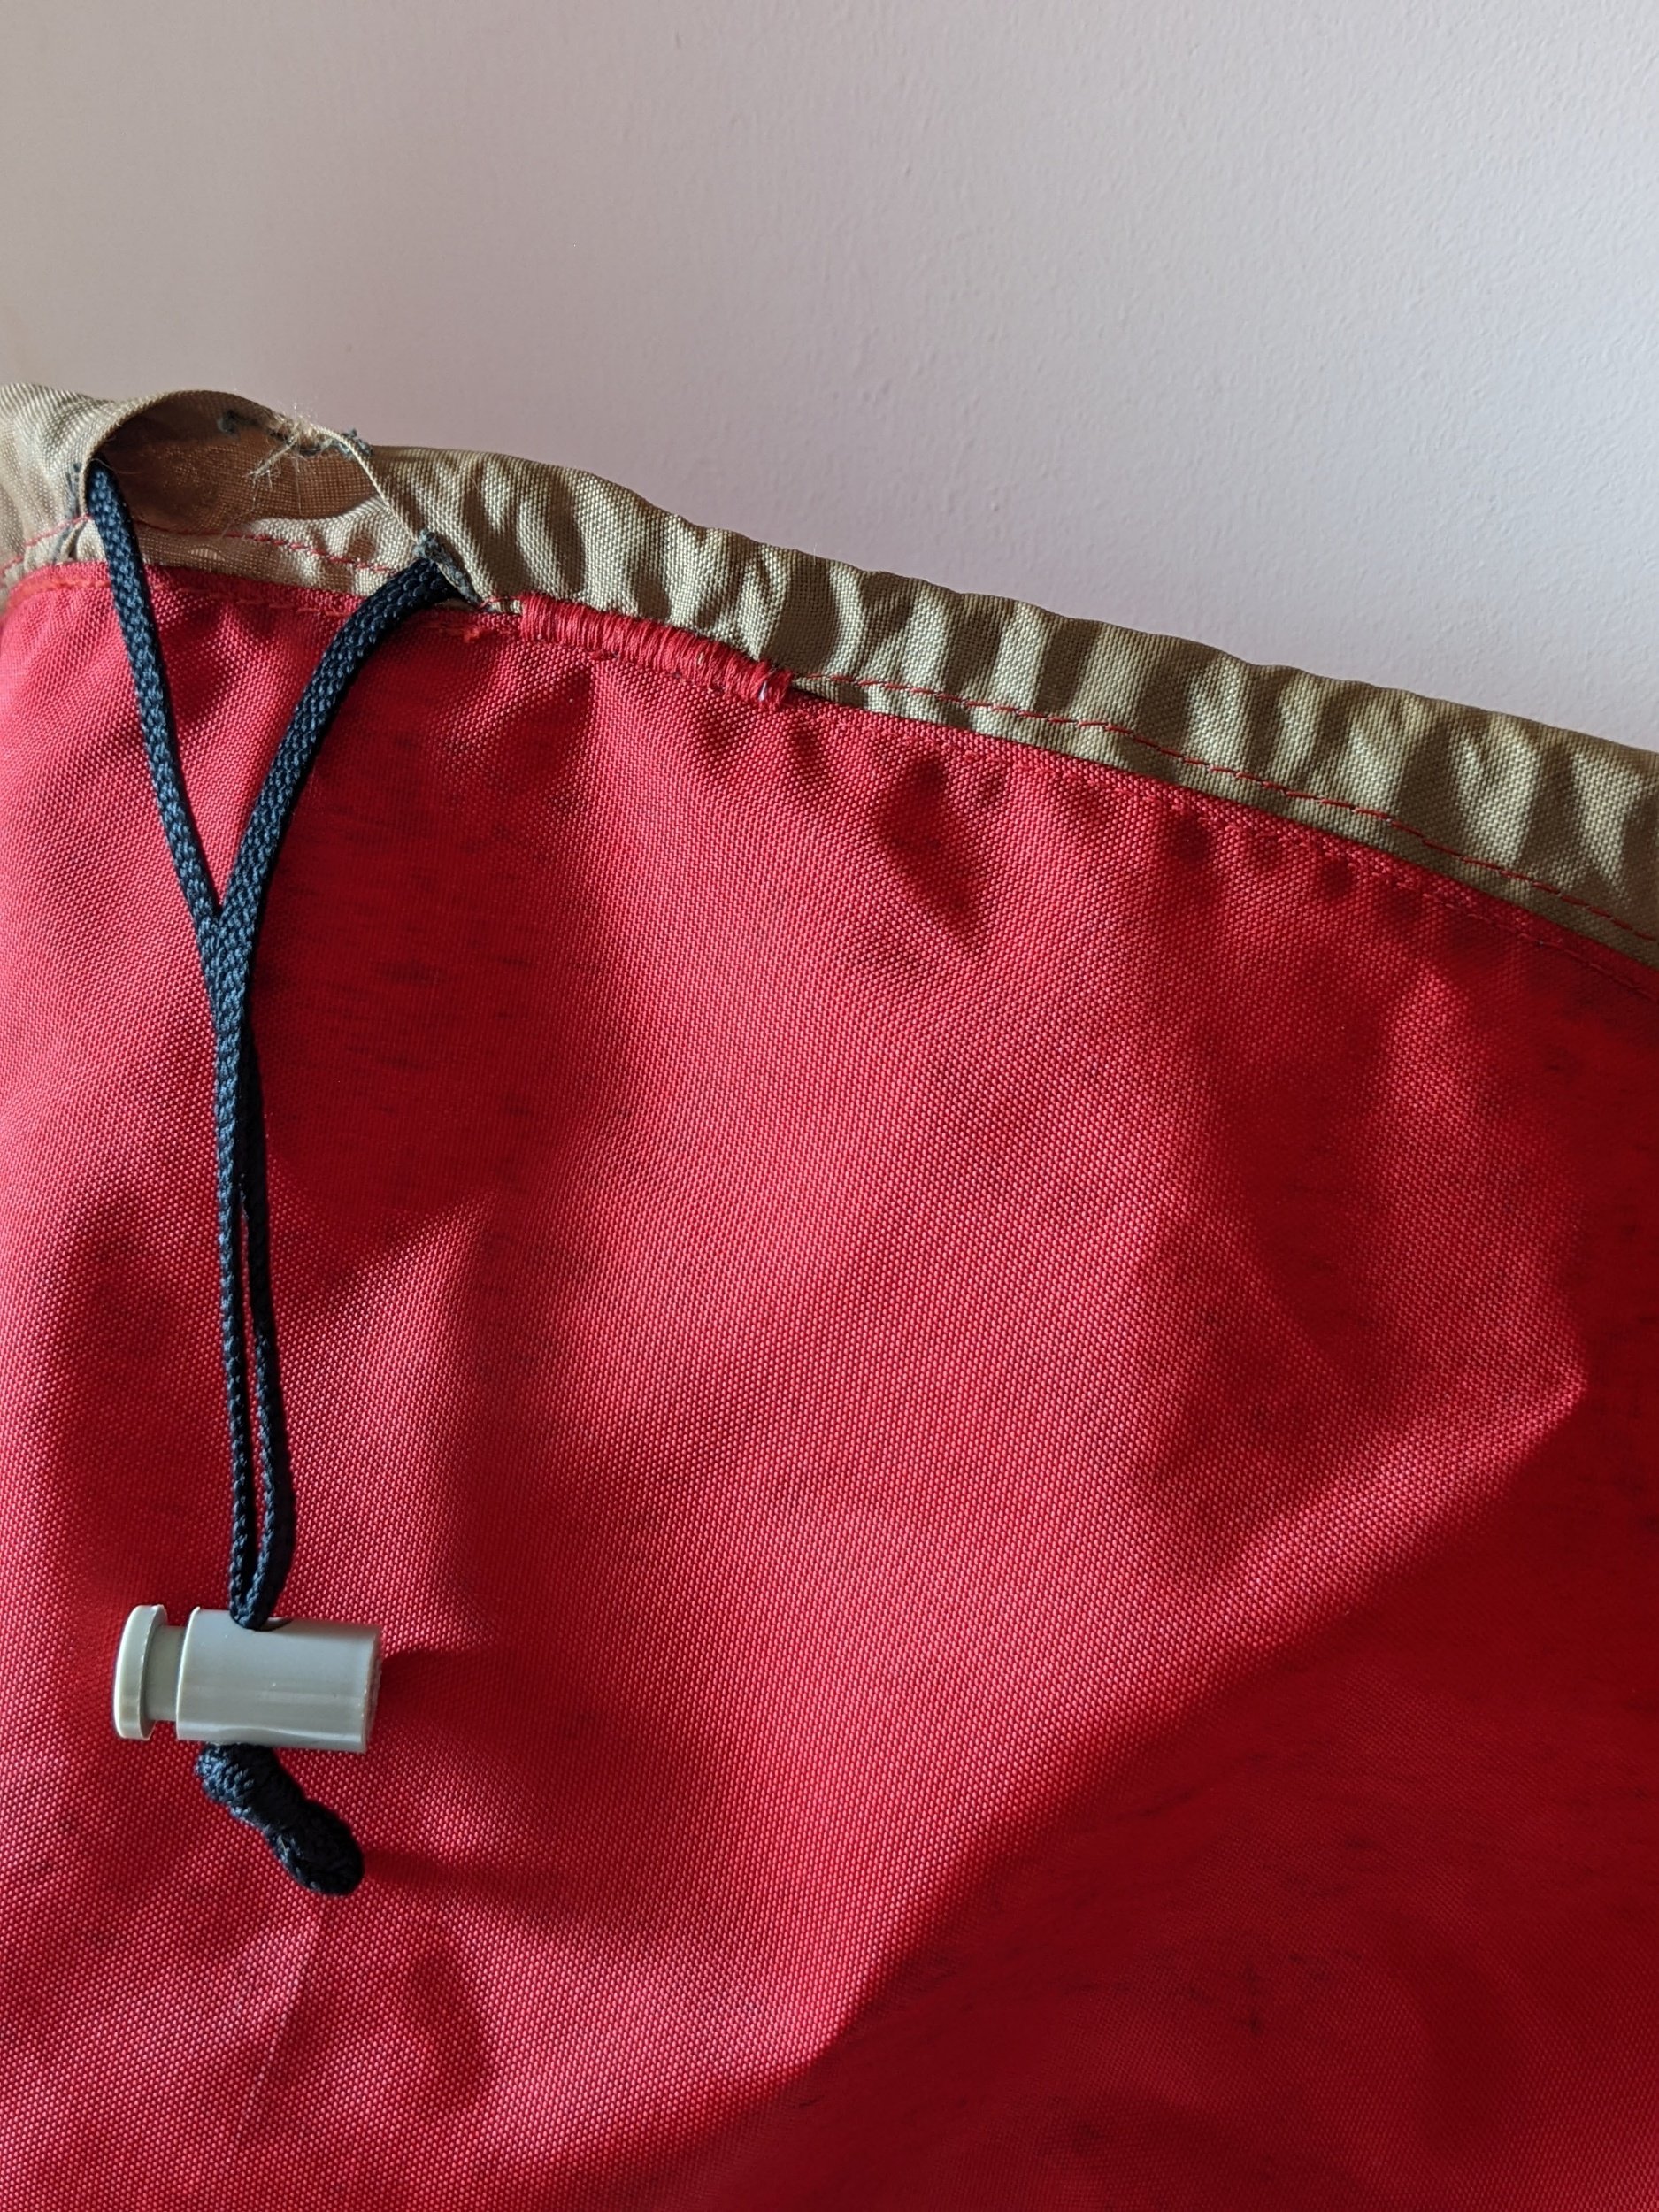
HIKING BACKPACK
This last repair was for my father-in-law. It was a hiking backpack he’d owned for over 30 years and had a lot of sentimental value. As you can see, the drawstring channel was damaged, specifically where the nylon fabric had frayed. The blue thread was an old and somewhat ineffective repair. This was a tricky project to properly fix, the nylon fabric was slippery and difficult to manipulate into place. The drawstring channel stitching needed to hold the folded edge of the red fabric over the beige drawstring channel and the beige fabric had frayed so significantly, I needed to cut back whole sections of it back to healthy fabric. It took a lot of pinning and swearing but ultimately I managed it. I did an extra layer of stitching within the beige fabric channel, to try to minimise future fraying and help the repair and backpack last longer. I finished it off with bar tacks on either side of the drawstring, to provide reinforcement in an area that will take some strain. I hope my repair helps the backpack last another 30 years!